These installation tips are designed to help builders, installers, and DIY users get consistent, level results with less effort. From selecting the right shim to stacking efficiently, these quick pointers will help you work smarter, not harder.
Tip #1
First decide whether the application is most suited to a “flat” shim or a “tapered” shim solution.
For example, fitting a door set is often achieved quickest using a pair of opposing double-snap shims whereas leveling of batons is usually best done with flat or horseshoe shims.
Check them out
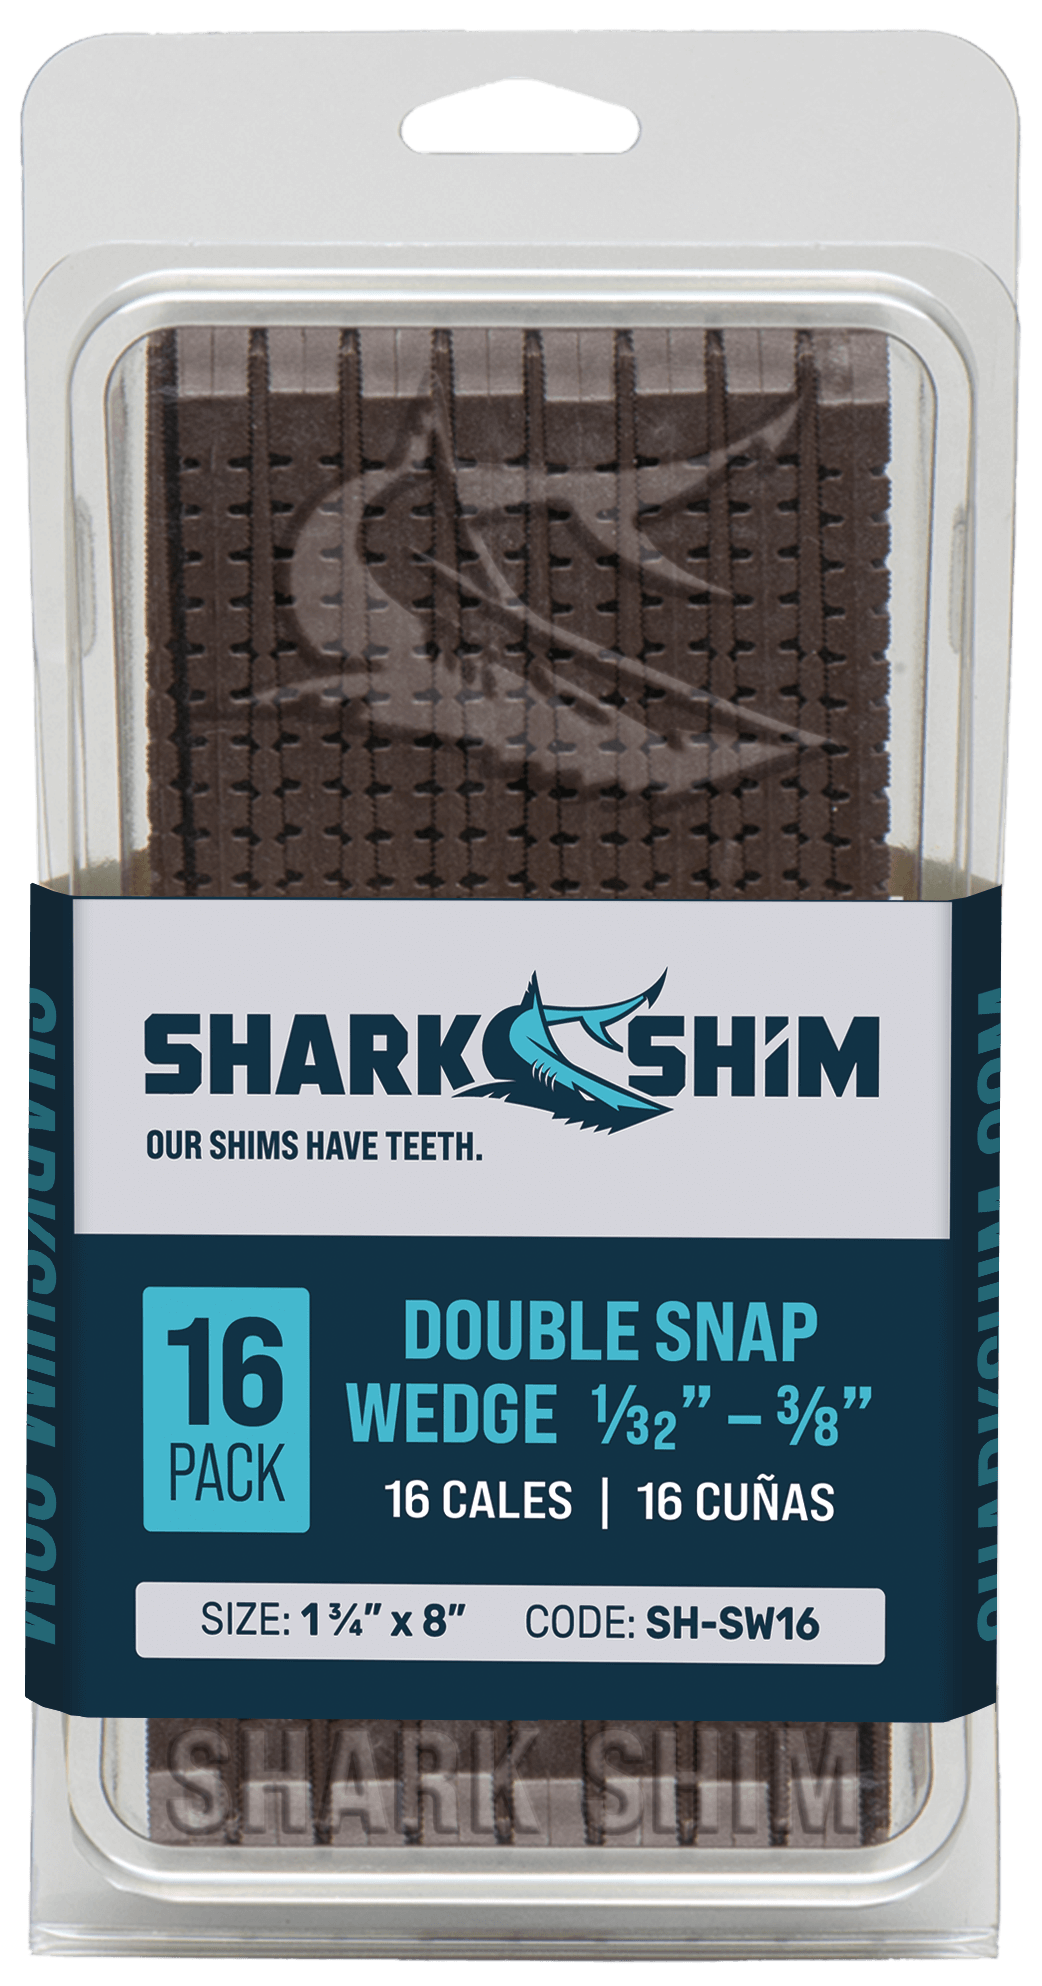
Double Snap Wedge Clamshell (Tapered 1∕32” − 3∕8”) (16 pack)
Learn More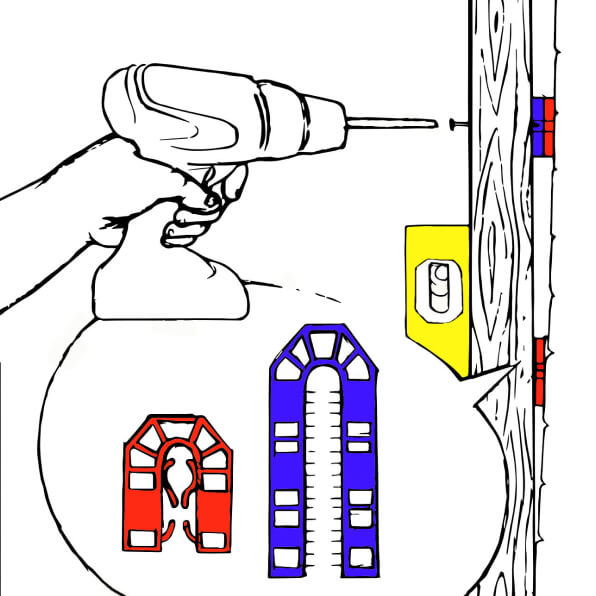
Tip #2
If you are using Horseshoe (or U Shims) decide which size is most appropriate to the application.
For example, if the baton that you are levelling is only 2″ (50mm) wide, it would be inappropriate to use the Standard horseshoe shim with its length of 4″ (100mm).
Check them out
Assorted Small U Shims Grab-Box (1∕32” – 1∕4”) (280 pack)
Learn More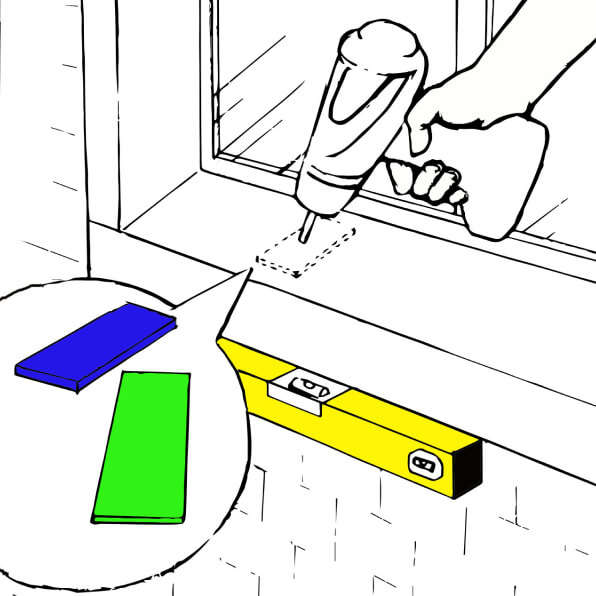
Tip #3
When building up a shim “stack” always use the largest thickness shim that is appropriate.
For example, a 3/8″ space would be better packed out with a 1/4″ plus a 1/8″ combination rather than using 6 of a 1/16″ shim.
Check them out
Assorted Flat Shims Grab-Box (1∕32” – 1∕4”) (240 pack)
Learn More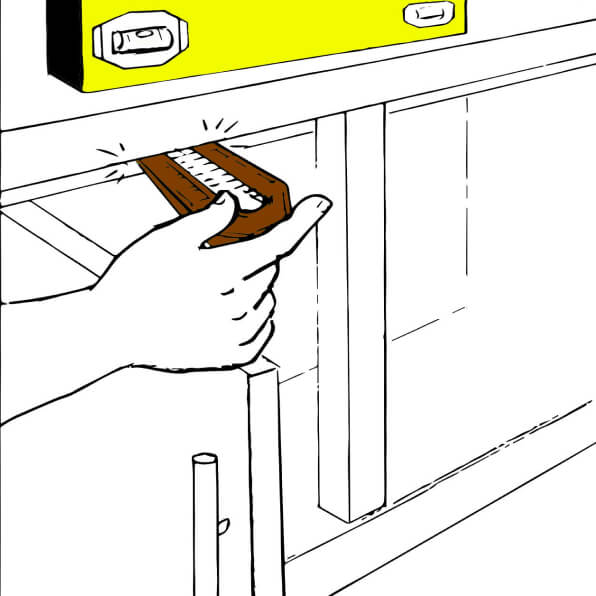
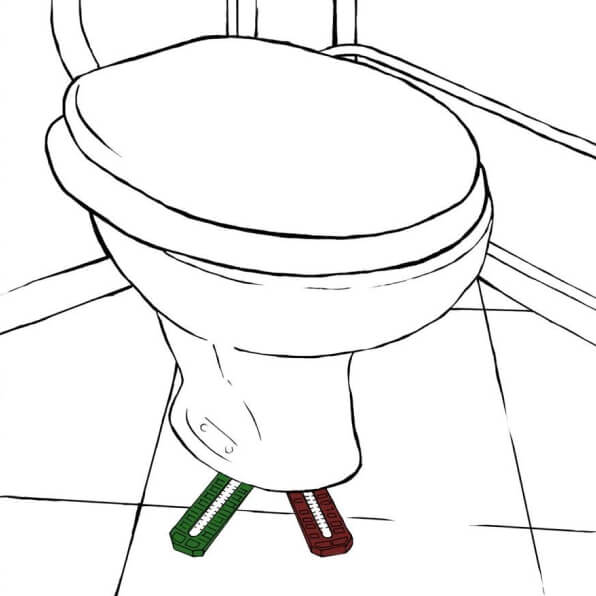
Tip #4
Whenever there is a possibility of moisture being present, always use a plastic rather than a wood shim for the application to avoid “swelling” or “rotting” of the shim.
Check them out
Double Snap Wedge Clamshell (Tapered 1∕32” − 3∕8”) (16 pack)
Learn More